How to hang a gallery wall in one pass
Most crooked walls come from measuring every frame separately. Measure once instead.
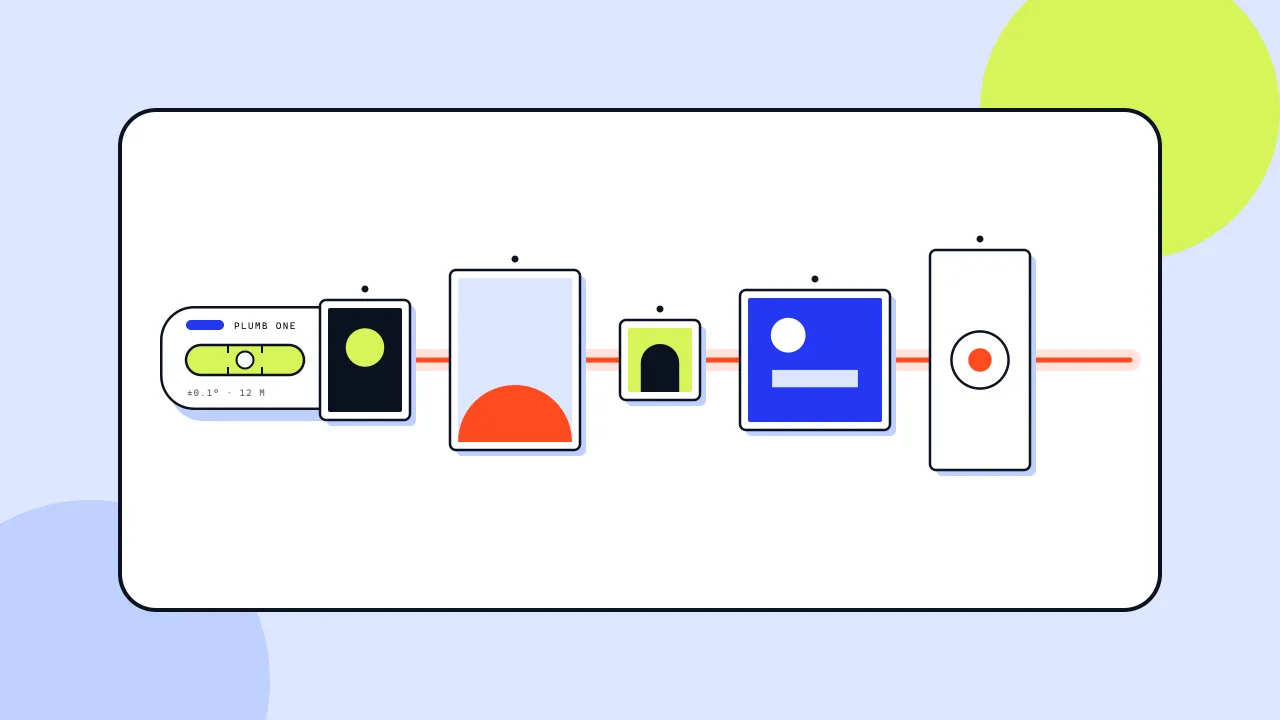
1. Choose one centre line
Pick a height for the middle of the arrangement. Gallery practice puts the centre of the whole group at about 145 cm (57 inches) from the floor, roughly eye level. Mark that height with a level line across the wall, lightly in pencil.
2. Lay it out on the floor first
Arrange the frames on the floor or on kraft paper with an even gap, typically 5 to 8 cm. Photograph it. Then trace each frame on paper, cut the shapes out and tape them to the wall so you can judge before you drill.
3. Measure the hook, not the frame
The nail goes where the hook sits, not at the top edge. Measure the distance from the top of the frame down to the hook when the wire is pulled tight. That is your drop. The nail height is the frame top minus the drop, and the nail position is the frame’s horizontal centre.
- Nail height = frame top − drop
- Nail spacing = centre to centre distance between frames
- Gap = edge to edge, which is not the same as nail spacing
4. Work outward from the middle
Hang the centre frame first, check it against the line, then move out in both directions. Small errors do not accumulate this way.
The gallery planner in the tools section does the arithmetic for you: set the line, drag the frames and copy a list of nail positions in centimetres and inches.